pikiosk
pikiosk turns a Raspberry Pi and a monitor into a wall display that you control from Home Assistant. It can:
- show web dashboards and camera streams, and rotate through them
- play chimes and announcements, and work as a speaker for Home Assistant
- accept AirPlay from Apple devices
Every action is available over MQTT (with Home Assistant discovery), a REST API and a built-in web interface.
It needs no cloud services, accounts or telemetry. Everything it does stays on your network, and once installed it runs without internet access.
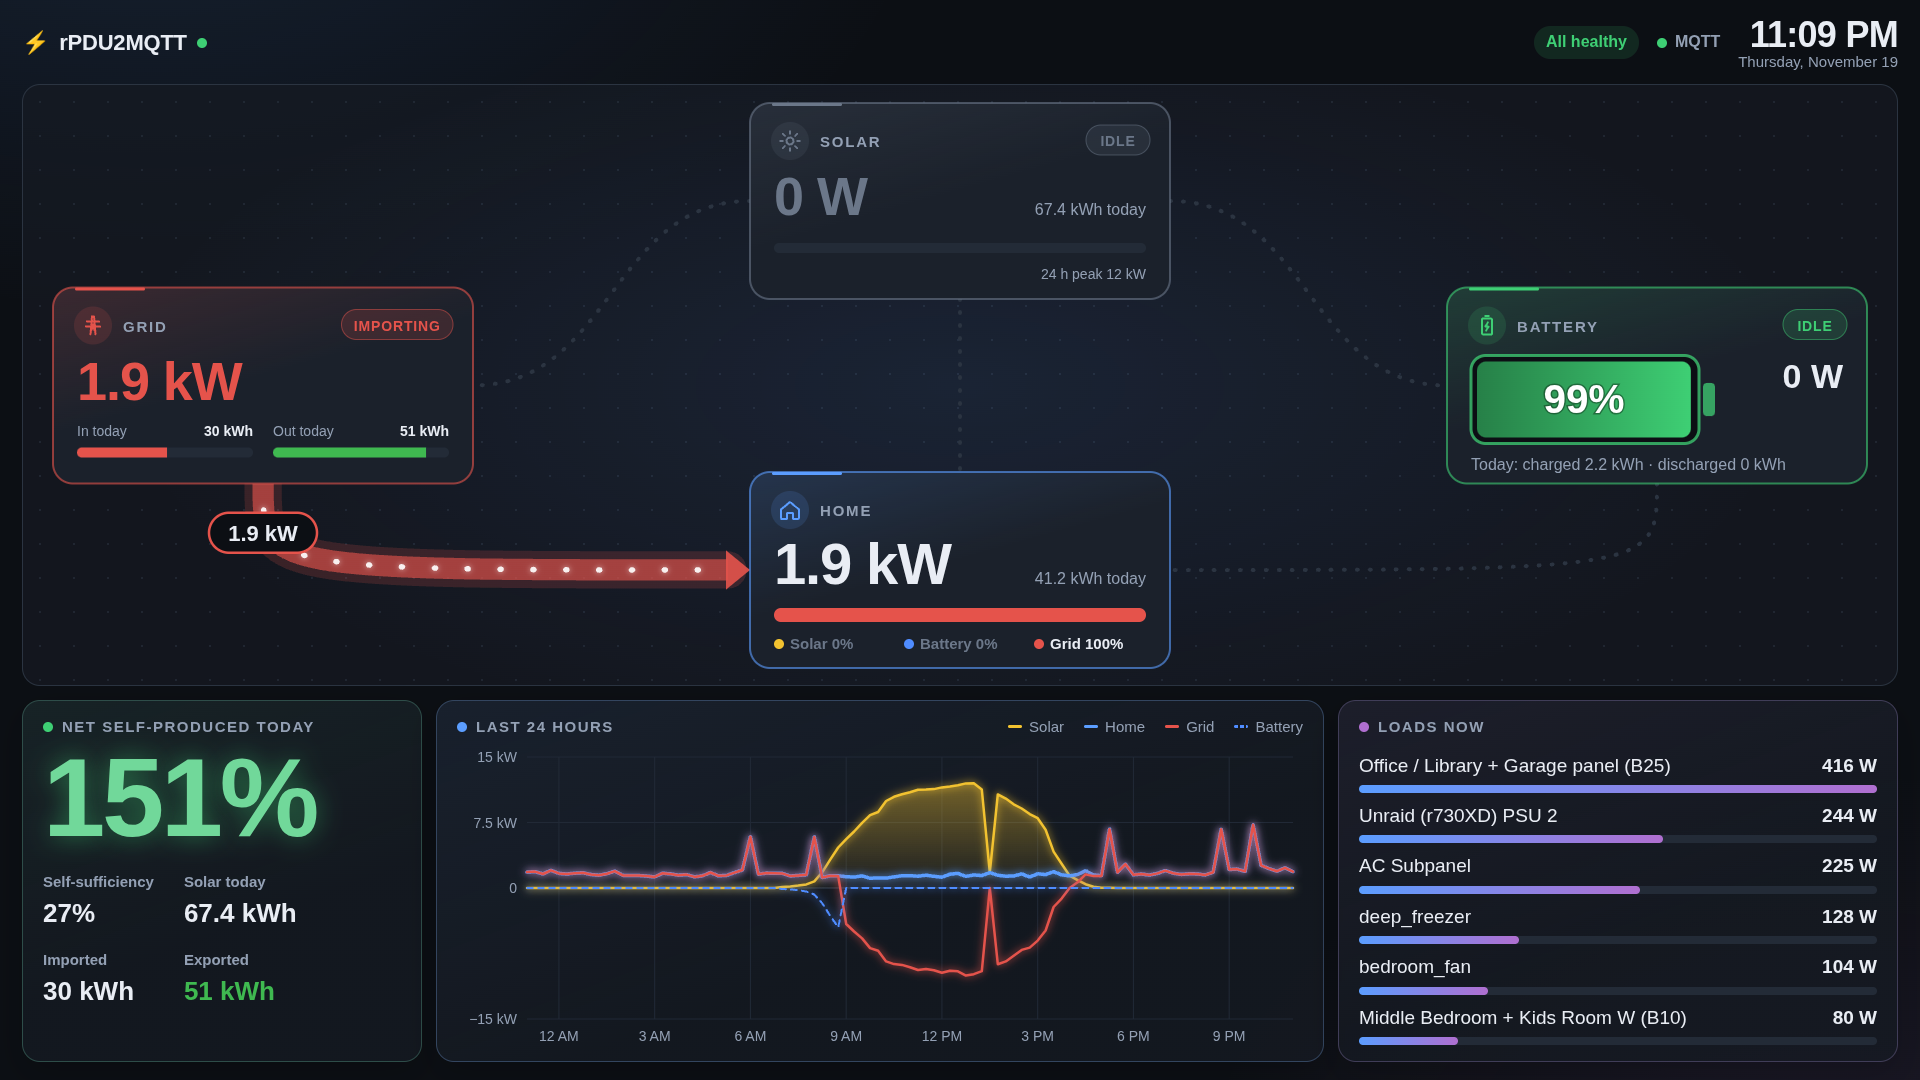
The screen: an rPDU2MQTT power dashboard in a rotation.
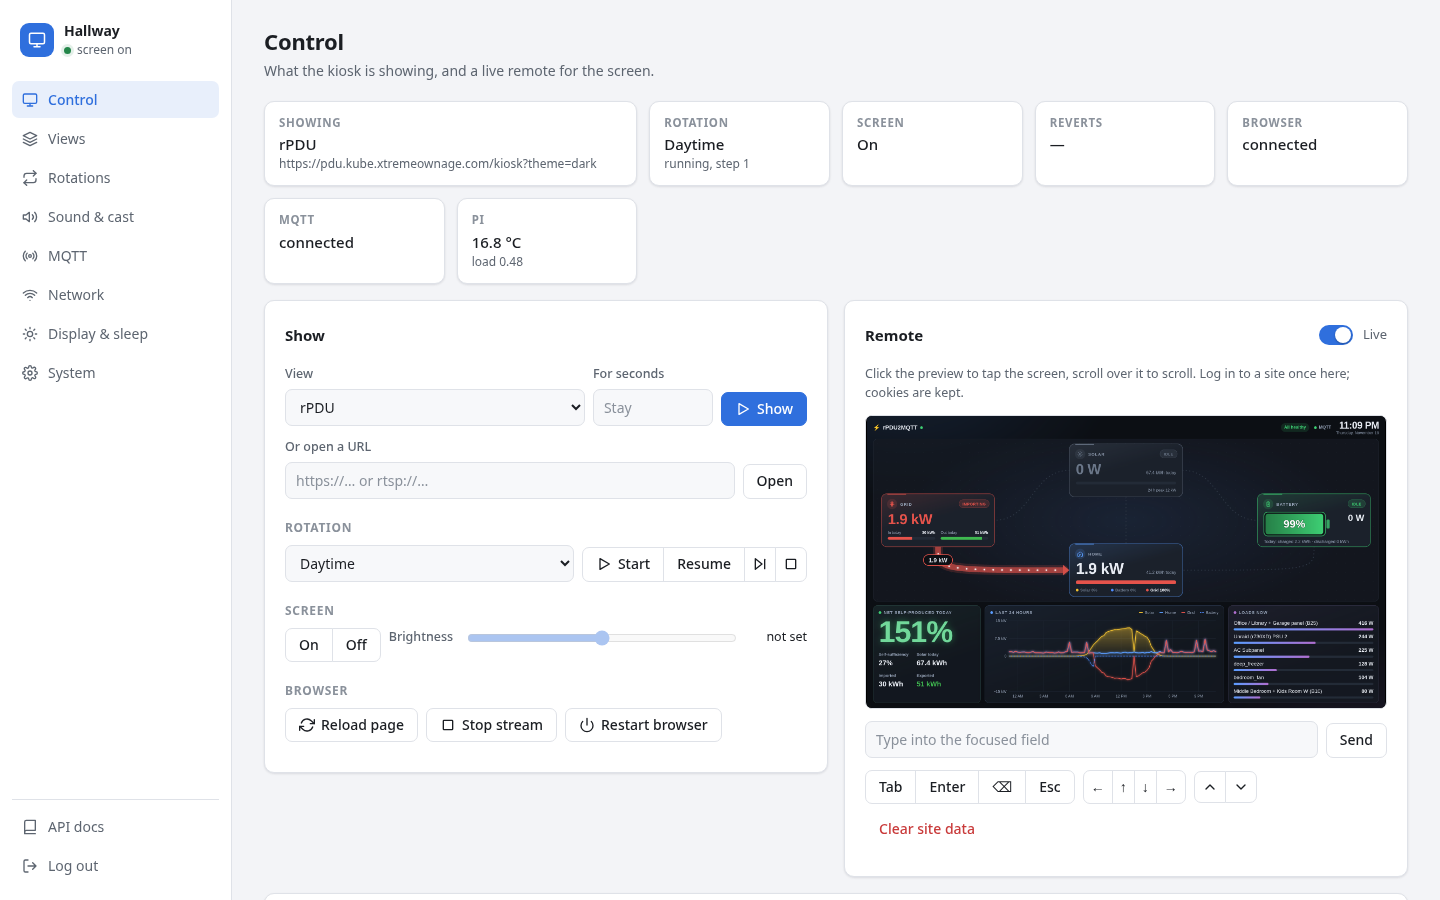
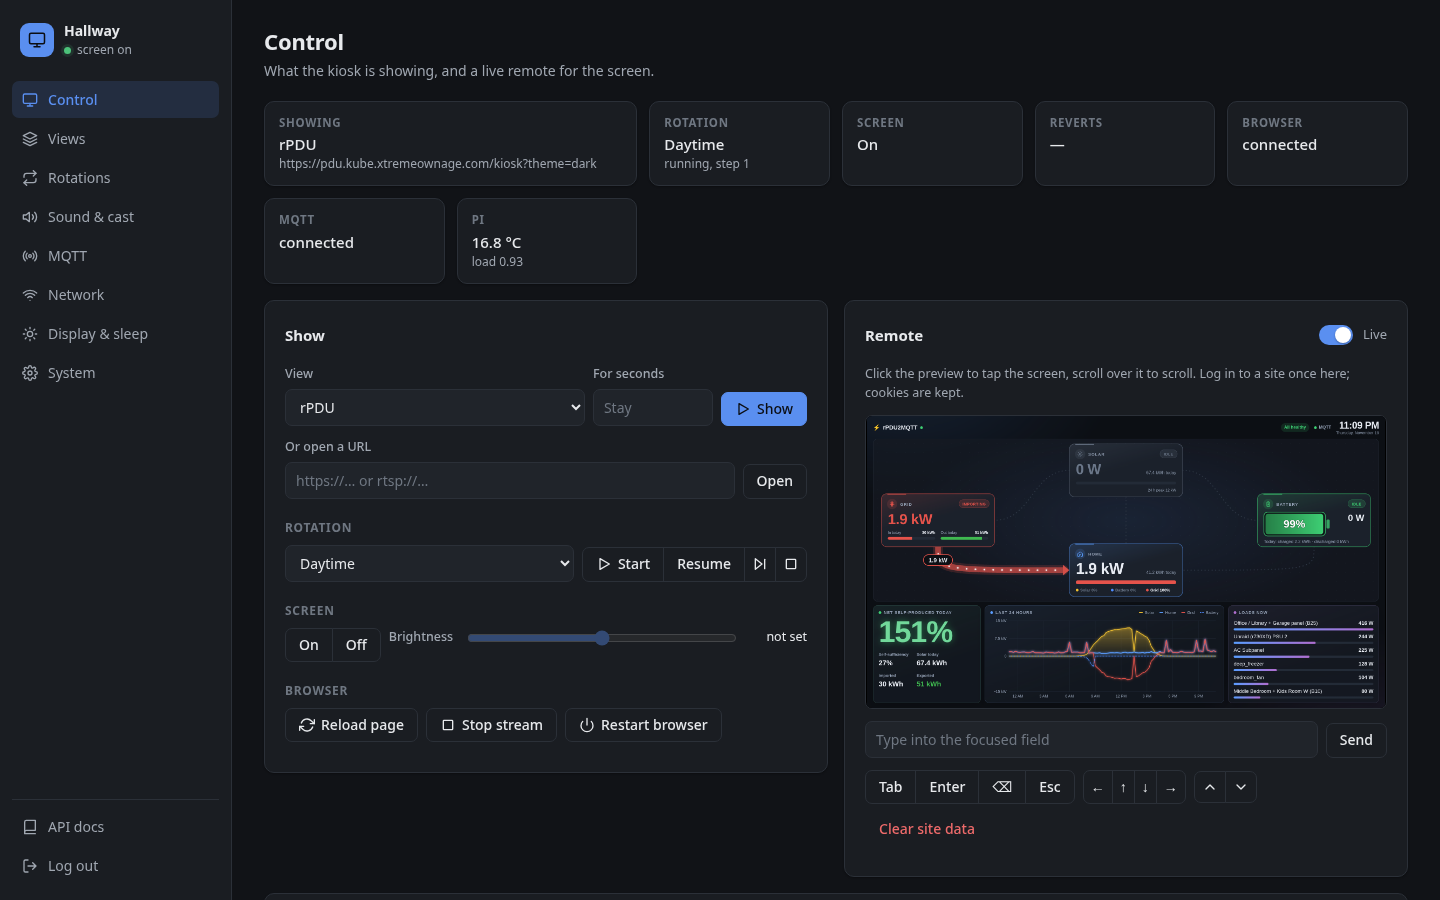
What it can do
| Web pages | Any URL, including sites that need a login. A page stays up until changed, or for N seconds. Per-view headers, HTTP basic or bearer auth, Home Assistant tokens, custom CSS, zoom and auto-refresh. |
| Streams | RTSP, HTTP, SRT and more, full screen. |
| Rotations | Named profiles that cycle through views. A timed view pauses the rotation, which then carries on. Views can be switched off without removing them from rotations. |
| Sounds | Built-in chimes, your own uploads, or any URL, such as Home Assistant TTS. |
| Home Assistant speaker | A DLNA media renderer, so tts.speak and media players can target the kiosk. |
| Casting | An AirPlay receiver for screen mirroring, video and music from iPhones, iPads and Macs. |
| Screen control | On/off, brightness over DDC/CI, rotation, scale, idle timeout, daily schedule, wake on touch. |
| Remote control | Live preview in the web UI; tap and type into the page to log in to sites. |
| Status | State, device health and an activity feed over MQTT and in the web UI. |
| Self-healing | Hardware watchdog, service watchdog, browser and display health checks, network watchdog. |
| Remote fixes | Updates from the web UI, SSH with keys, and one-command redeploys. You never need to reflash. |
How it works
flowchart LR
    HA[Home Assistant] -- MQTT --> K
    API[REST API] --> K
    UI[Web UI] --> K
    SSO[OIDC provider] -. sign-in .-> UI
    Phone[iPhone / Mac] -- AirPlay --> U
    K[kioskd] --> C[Chromium<br/>web views]
    K --> M[mpv<br/>streams, sounds]
    K --> U[UxPlay<br/>AirPlay]
    K --> S[sway, DDC/CI<br/>screen power, brightness]
    K --> N[NetworkManager, systemd<br/>network, updates]
The stock Raspberry Pi OS Lite image gets a small first-boot config that:
- installs Chromium, sway, mpv, PipeWire and the pikiosk daemon (
kioskd) - logs a locked-down
kioskuser into a bare sway session
kioskd drives Chromium over the DevTools protocol on loopback. It plays streams and sounds with mpv, and supervises the AirPlay receiver. Settings live in /var/lib/pikiosk/config.json.