Home Assistant
MQTT discovery
On the MQTT tab, enter your broker and leave Home Assistant discovery on. Home Assistant then adds a device with:
- Controls: view and rotation selectors, URL, stream and sound text fields, screen switch, and brightness and volume sliders
- Buttons: reload, next, resume and stop rotation, stop stream, stop sound, restart browser, reboot
- Sensors: mode, rotating, casting, CPU temperature, IP address, boot time, last activity, browser restarts
The base topic defaults to pikiosk/<device id>. All topics are listed in the MQTT reference.
How discovery is published
The kiosk uses Home Assistant's device-based discovery (Home Assistant 2024.12 or newer): one retained message describes the device and every entity, on
homeassistant/device/<device id>/config
Home Assistant names the device after the kiosk's device name (System → Device, Kiosk by default), so look for that name under Settings → Devices & services → MQTT. There are no per-entity topics such as homeassistant/sensor/…/config, so an MQTT browser shows a single topic under homeassistant/device/.
sequenceDiagram
    participant K as kioskd
    participant B as MQTT broker
    participant H as Home Assistant
    K->>B: homeassistant/device/<id>/config (retained)
    K->>B: pikiosk/<id>/availability = online (retained)
    B->>H: discovery message
    H->>H: create device and entities
    H->>B: homeassistant/status = online (after an HA restart)
    B->>K: homeassistant/status
    K->>B: discovery again
The kiosk publishes it when it connects, when a view or rotation is added or renamed, and when Home Assistant announces online on homeassistant/status.
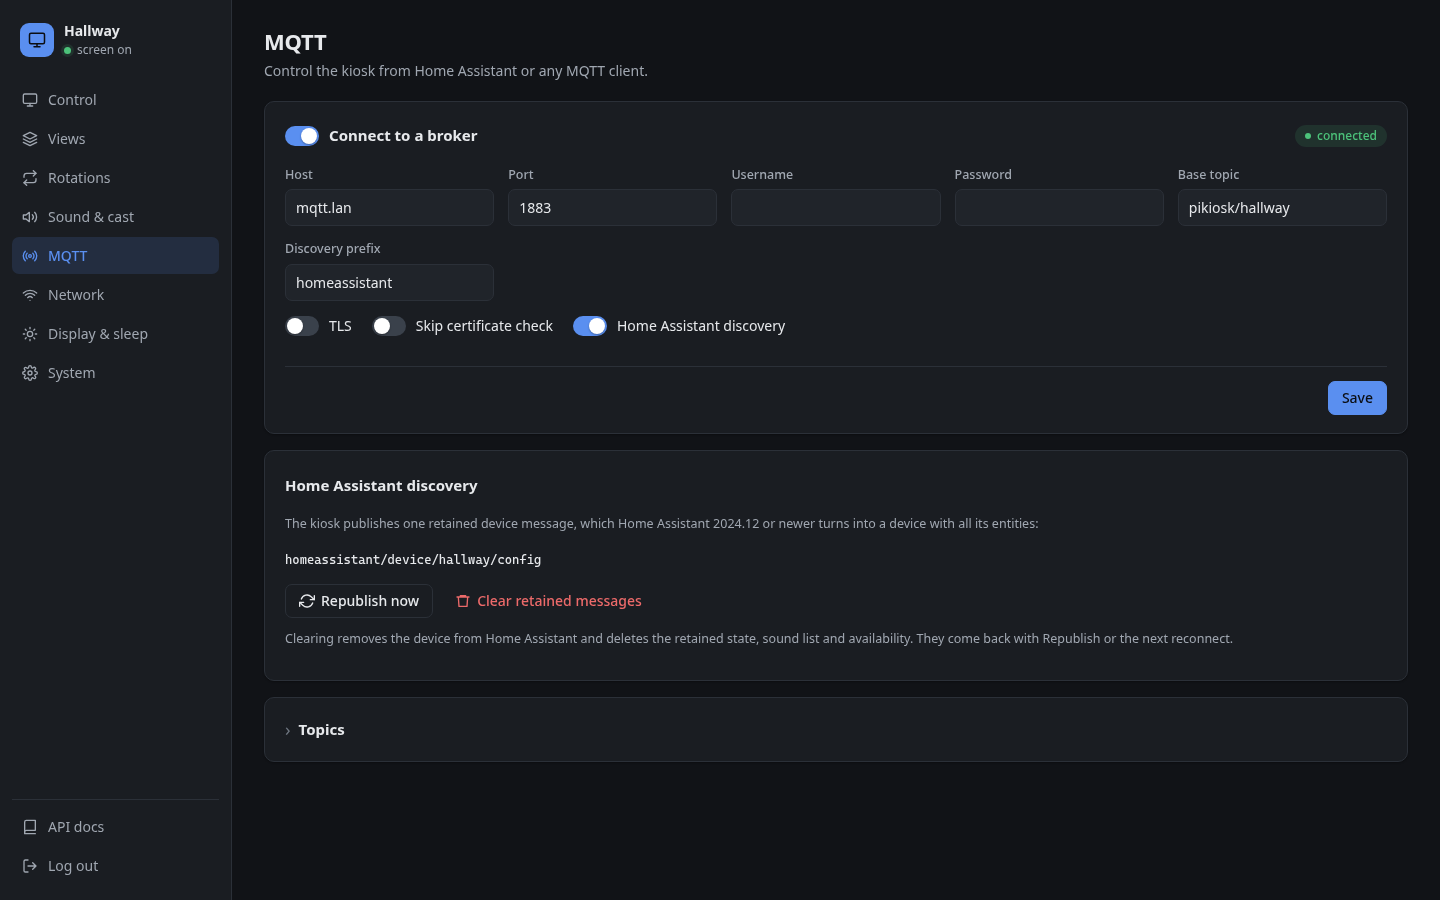
The Home Assistant discovery card on the MQTT page has:
- Republish now, which sends discovery, state, sound list and availability again
- Clear retained messages, which deletes them from the broker. Home Assistant removes the device until it is published again, by Republish or the next reconnect. Use it to start fresh after renaming the device ID, or before removing a kiosk.
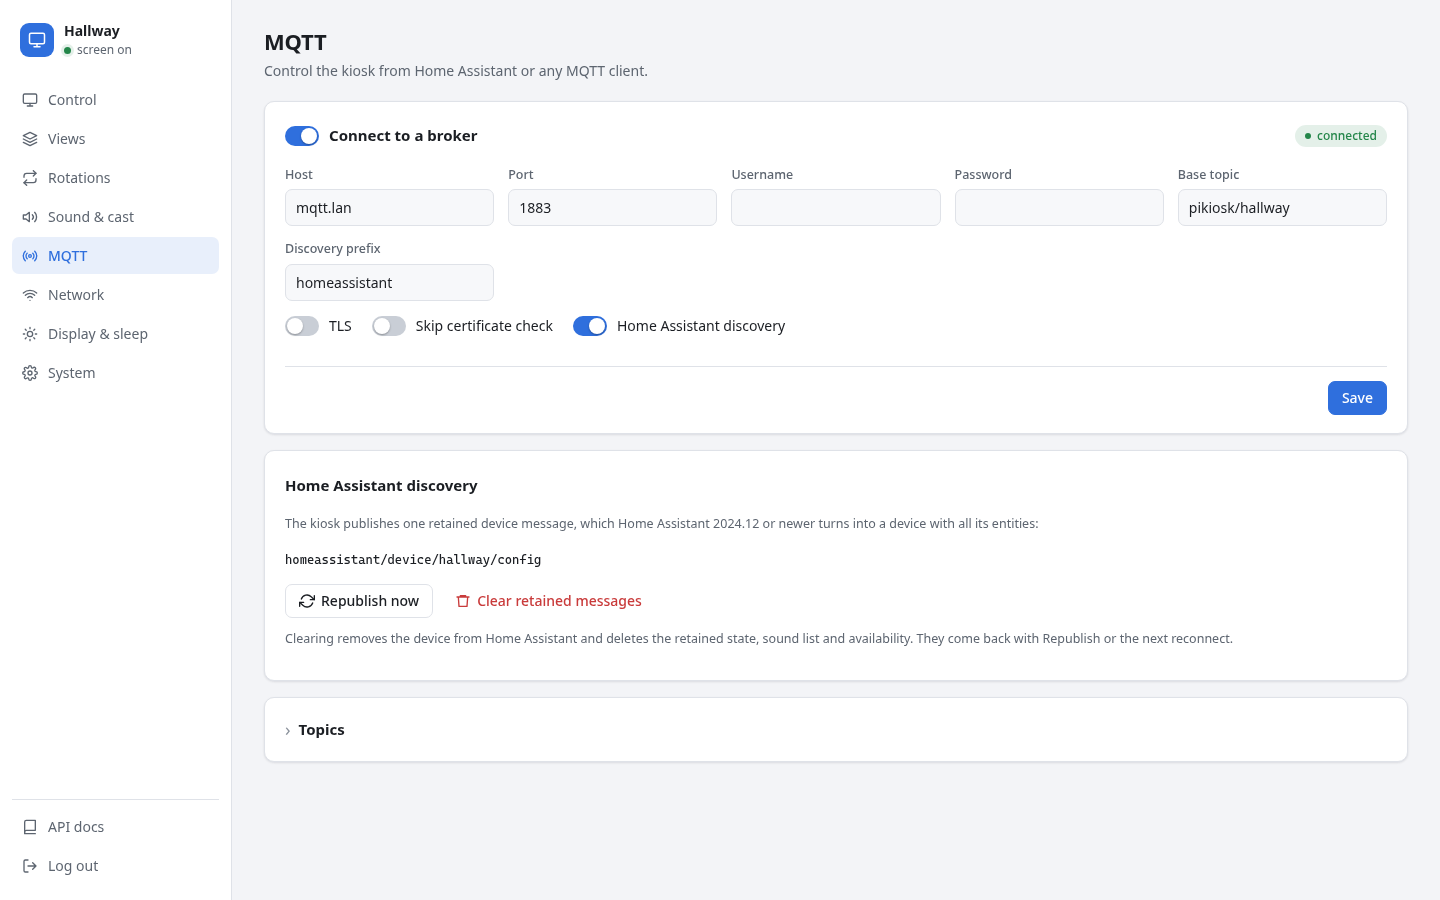
If the device does not appear, check that the broker user may publish to homeassistant/#, and look for discovery published or discovery publish failed in journalctl -u pikiosk.
Dashboards without a login
Pick one:
- Long-lived token (recommended): on the Views tab, open the view's Configure panel, choose Home Assistant long-lived token and paste the token.
- Log in once through the remote preview on the Control tab. Chromium keeps the session.
- Trusted networks: add the kiosk's IP address to Home Assistant's
trusted_networksauth provider.
Using the kiosk as a speaker
pikiosk runs a DLNA media renderer. Add it in Home Assistant with Settings → Devices & services → Add integration → DLNA Digital Media Renderer. It appears as a media player named after the kiosk.
action: tts.speak
target:
  entity_id: tts.piper
data:
  media_player_entity_id: media_player.hallway_kiosk
  message: The washing machine has finished.
To play a sound from the kiosk's own library instead:
action: mqtt.publish
data:
  topic: pikiosk/hallway/cmd/play_sound
  payload: doorbell
Automations
Show the doorbell camera for a minute when someone rings:
triggers:
  - trigger: state
    entity_id: binary_sensor.doorbell
    to: "on"
actions:
  - action: mqtt.publish
    data:
      topic: pikiosk/hallway/cmd
      payload: '{"action":"view","name":"doorbell-cam","duration":60}'
  - action: mqtt.publish
    data:
      topic: pikiosk/hallway/cmd/play_sound
      payload: doorbell
Turn the screen off when everyone leaves:
triggers:
  - trigger: state
    entity_id: group.family
    to: not_home
actions:
  - action: switch.turn_off
    target:
      entity_id: switch.hallway_kiosk_screen