First setup
Open the address shown on the kiosk's screen (for example http://pikiosk.local) from a phone or computer on the same network.
Admin password
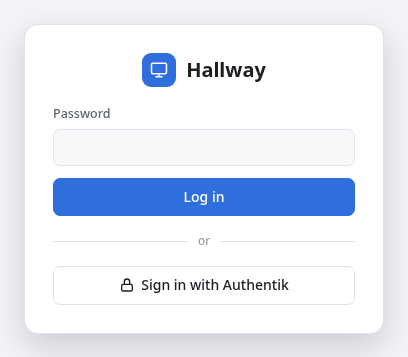
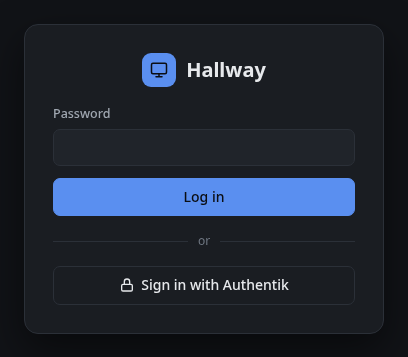
The first visit asks for an admin password of at least 8 characters. It protects the web UI. The REST API uses a separate token. Once single sign-on is set up, the login page also offers it.
Warning
Until the password is set, anyone on your network can open the setup page. Do the first setup on a network you trust.
Tour of the web UI
| Tab | What it is for |
|---|---|
| Control | What is showing now, quick commands, a live preview you can tap and type into, and the activity feed. |
| Views | The named pages and streams the kiosk can show. See Views. |
| Rotations | Profiles that cycle through views. See Rotations. |
| Sound & cast | Sound library, playback, volume and AirPlay. See Sound and casting. |
| MQTT | Broker connection and Home Assistant discovery. See Home Assistant. |
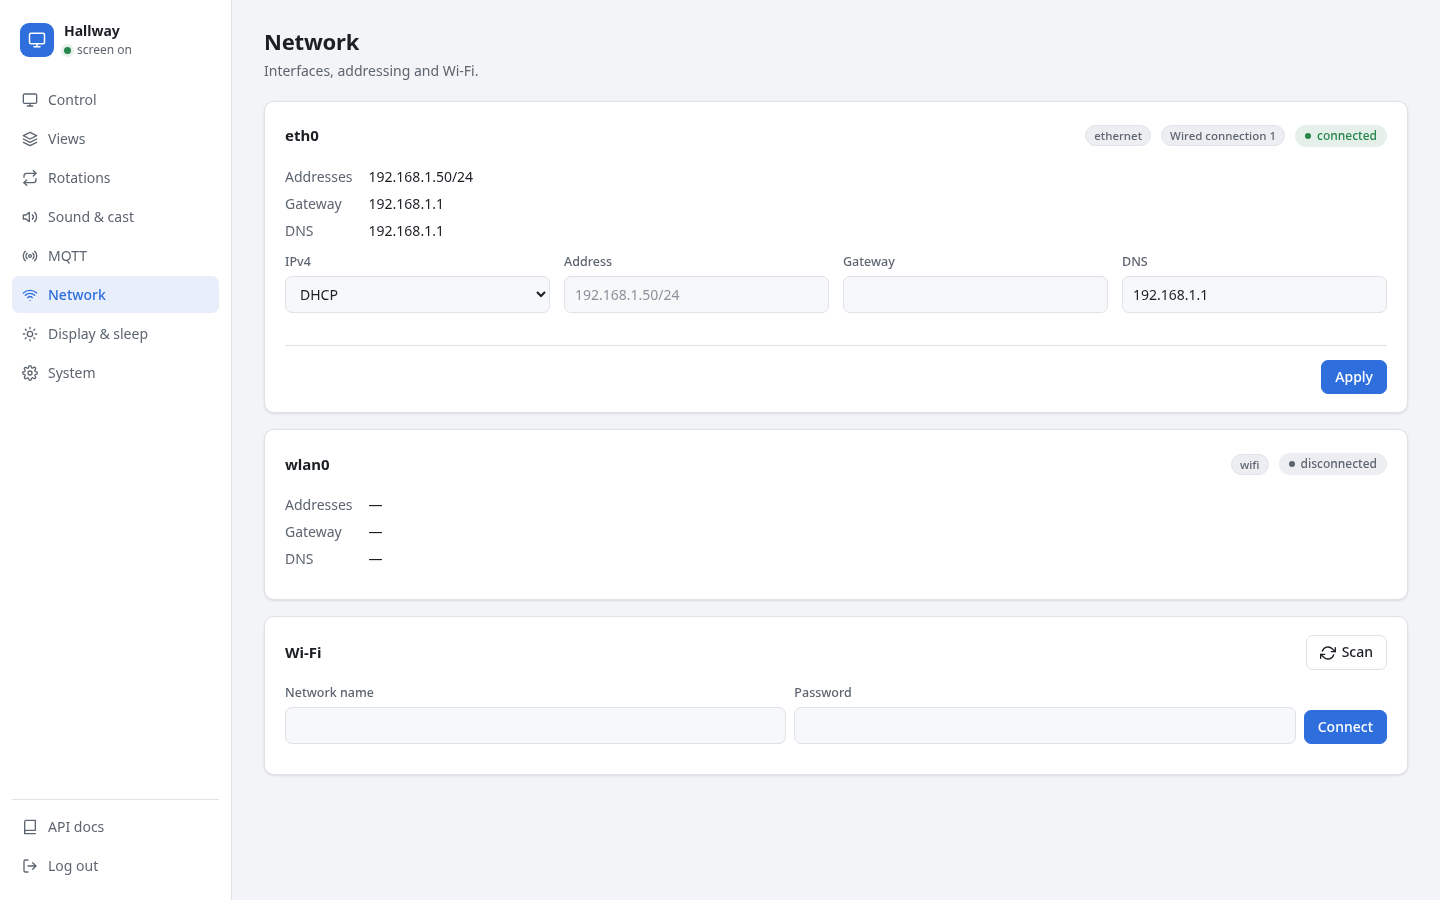
| Network | Interfaces, Wi-Fi, static addressing. |
| Display & sleep | Rotation, scale, brightness, cursor, idle timeout and schedule. See Display and sleep. |
| System | Device name and ID, timezone, updates, reboot, password and API token. |
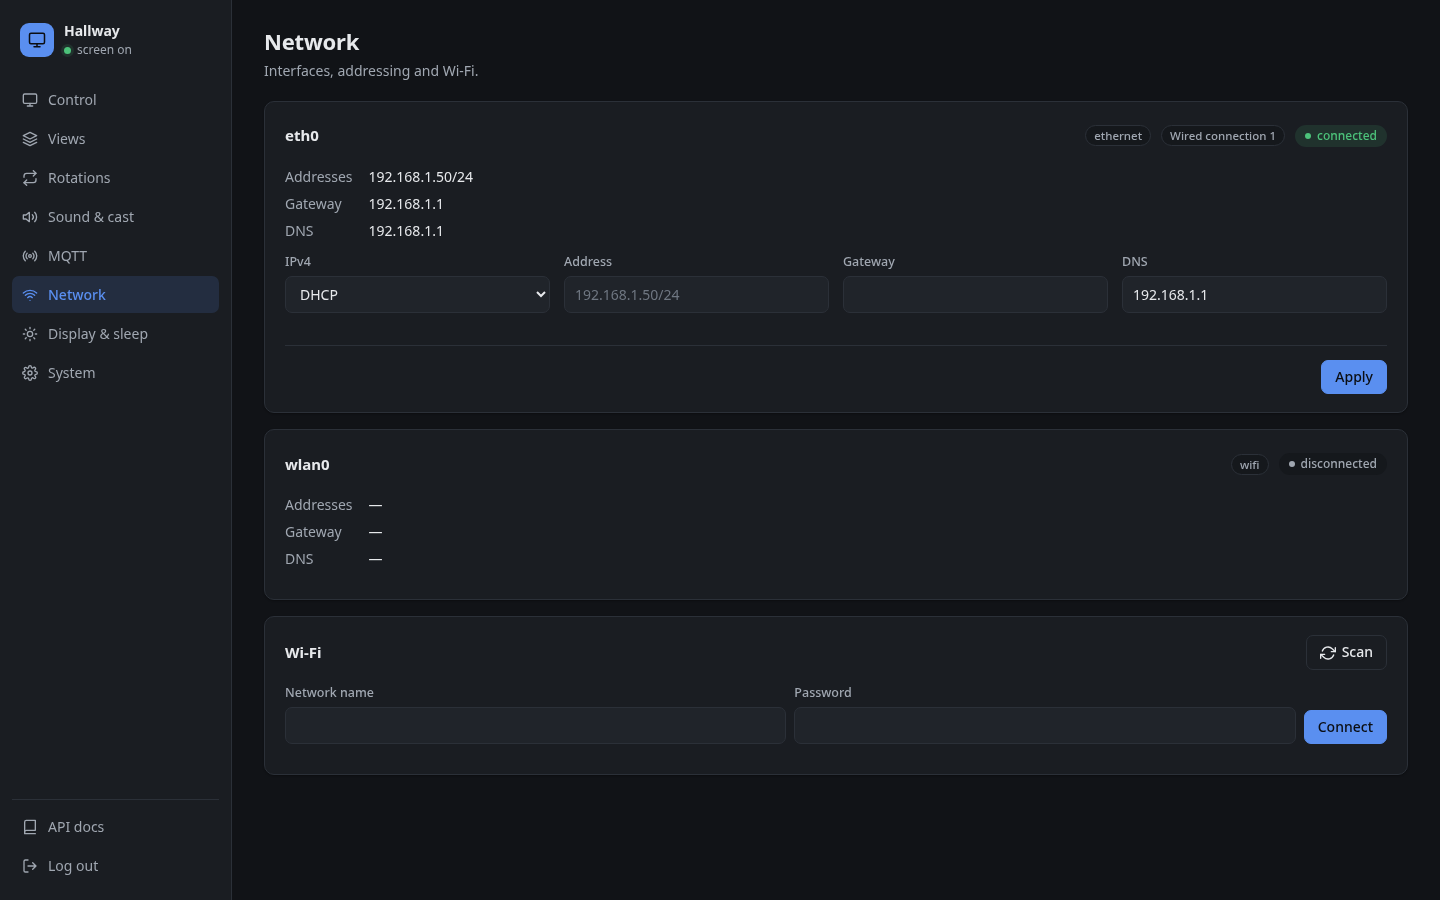
The Network tab shows each interface with its address, gateway and DNS, and switches between DHCP and a static address. Wi-Fi networks can be scanned and joined there too.
API docs in the sidebar opens the REST API reference served by the kiosk itself.
A typical setup
- Views: add a Home Assistant dashboard and a camera stream. Under Configure, give the dashboard a long-lived access token.
- Views: choose a Default view. It shows at boot and whenever nothing else is.
- MQTT: enter your broker. With discovery on, Home Assistant adds a device for the kiosk.
- Display & sleep: set the screen to turn off at night.
- System: set the timezone. Give the device a name and ID if you have several kiosks.